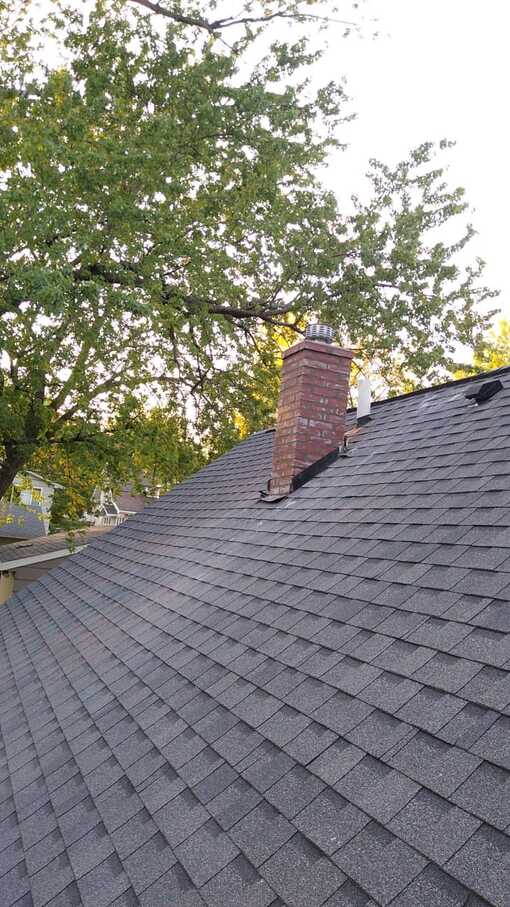
A Comprehensive Guide to Asphalt Shingle Roof Repair
Navigating the world of home improvement, especially when it comes to something as crucial as your home’s asphalt shingle roof, can be a daunting task. This guide seeks to provide a step-by-step walkthrough on how to replace asphalt shingles, giving your roof a fresh lease on life.
The key points of this guide include:
- Recognizing the importance of professional roofing contractors in the shingle replacement process
- Understanding the steps involved in replacing a shingle, from breaking the seal to resealing the shingles
- Learning the necessary precautions for each step to ensure a successful replacement and avoid unnecessary roof repair cost
Shingle Replacement: A Step-by-Step Process
Step One: Initiating the Shingle Replacement Process
In replacing a damaged shingle, the first step involves breaking the seal on the shingle. This is achieved by utilizing a flat pry bar to create a separation between the target shingle and the one below it. In cold weather, caution must be exercised to prevent the shingles from becoming brittle and distorting under pressure.
Step Two: Breaking the Seals on Adjacent Shingles
Next, the sealant bond on the adjacent shingles must be broken. This includes the shingles above and those directly to the right or left of the target shingle. This is essential to ensure that the new shingle aligns correctly with the rest of the roof.
Step Three: Nail Removal
The third step in the process involves removing the nails that hold the shingle in place. This requires lifting the shingle and nails simultaneously to prevent any further damage. All four nails from the target shingle should be successfully removed in this process.
Step Four: Removal of Adjacent Nails
Similar to step three, the sealant bond on the shingles two courses above the target shingle needs to be broken. This will allow access to the nails on the shingles in the course immediately above the target shingle. Care must be taken not to damage any of the shingles during this process.
Step Five: Shingle Removal
Upon confirming the looseness of the shingle, after breaking the sealant bonds and removing the nails, the old shingle can be safely removed.
Completing the Replacement Process
Step Six: New Shingle Installation
The next phase involves inserting the replacement shingle into the correct position and securing it in place with nails. The overlying shingles must also be re-nailed to ensure stability and proper alignment.
Step Seven: Shingle Resealing
The final step in the replacement process is resealing the shingles. Asphalt plastic roof cement is applied under the new shingle’s tabs, helping to maintain the integrity and wind resistance of the roof. The surrounding shingles are also sealed in this process to ensure a water-tight finish.
Conclusion
Proper roof maintenance is key to ensuring the longevity and functionality of your home. Regular checks and prompt replacement of damaged shingles can help maintain your roof’s wind resistance and overall structural integrity, ensuring your home remains safe and protected from the elements. Hiring a professional roofing contractor can greatly aid in ensuring the job is done right.
For further reading, check out our other guides:
- Revitalizing Your Home with a Basement Remodel
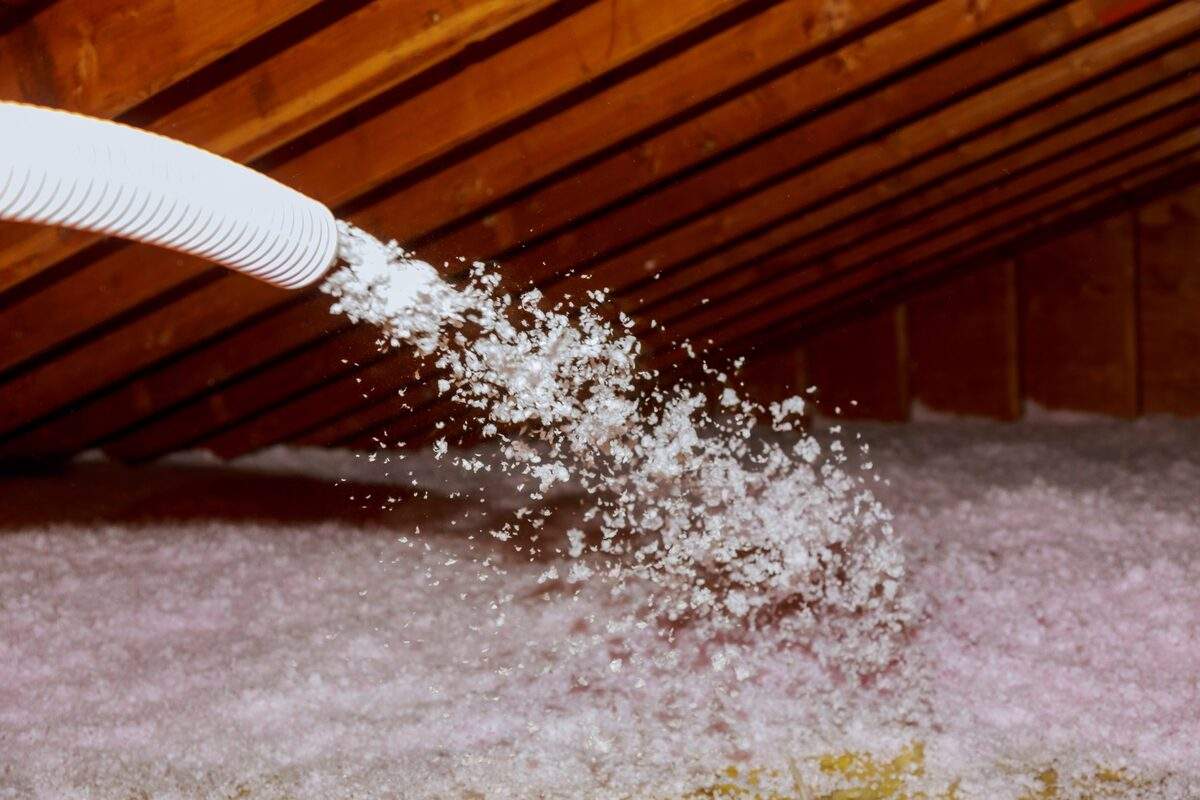
- Maximizing Your Home’s Efficiency with Proper Insulation
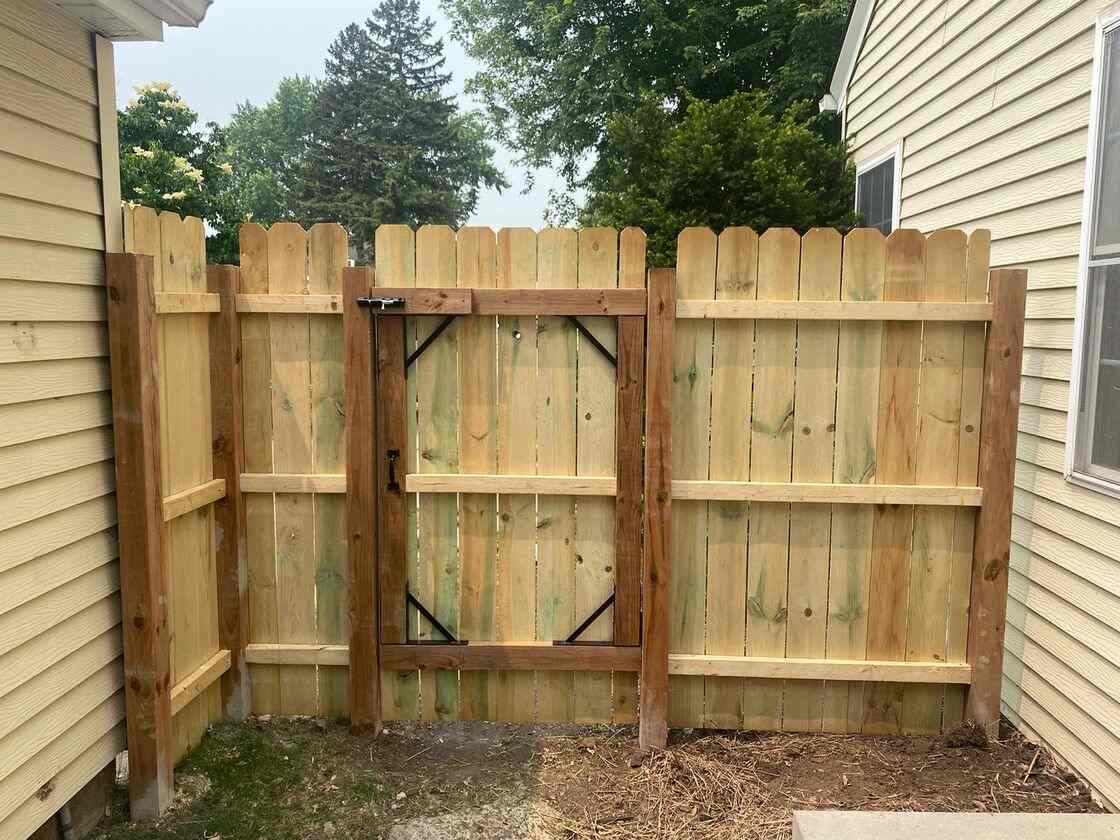
- Elevate Your Outdoor Living Space with a Deck Build or Repair
Remember, while doing it yourself can save on shingle roof replacement costs, the value and peace of mind that come with professional service are priceless.